


Hard water turns a diatomite bath mat hydrophobic over time. Descaling clears mineral film so the surface drinks water again—fast.
Tired of slow absorption and chalky stains? In this 2026 guide, you’ll master descaling and smart sanding: safe dilutions, correct grits, exact timings, and what to avoid.
By the end, you’ll know when to sand, when to acid‑rinse, and how both steps restore performance without weakening the mat.
Absorption restored: pore science
Diatomite (diatomaceous earth) works via open micro‑pores that wick water. Mineral deposits from hard water seal those pores, so targeted descaling is the fastest way to bring back capillary flow.
- Scale = mainly calcium carbonate; it blocks pores and dulls surfaces.
- Light acids dissolve scale without over‑eroding the matrix.
- Sanding refreshes the top microlayer so fresh pores reopen.
- Rinse and dry fully to avoid re‑crystallization on the surface.
After proper scale removal, many mats return to absorbing a full footprint in 10–20 seconds instead of minutes.
Keep this science in mind: if water beads or lingers, you need descaling first, sanding second. Reversing the order can lock residue deeper.
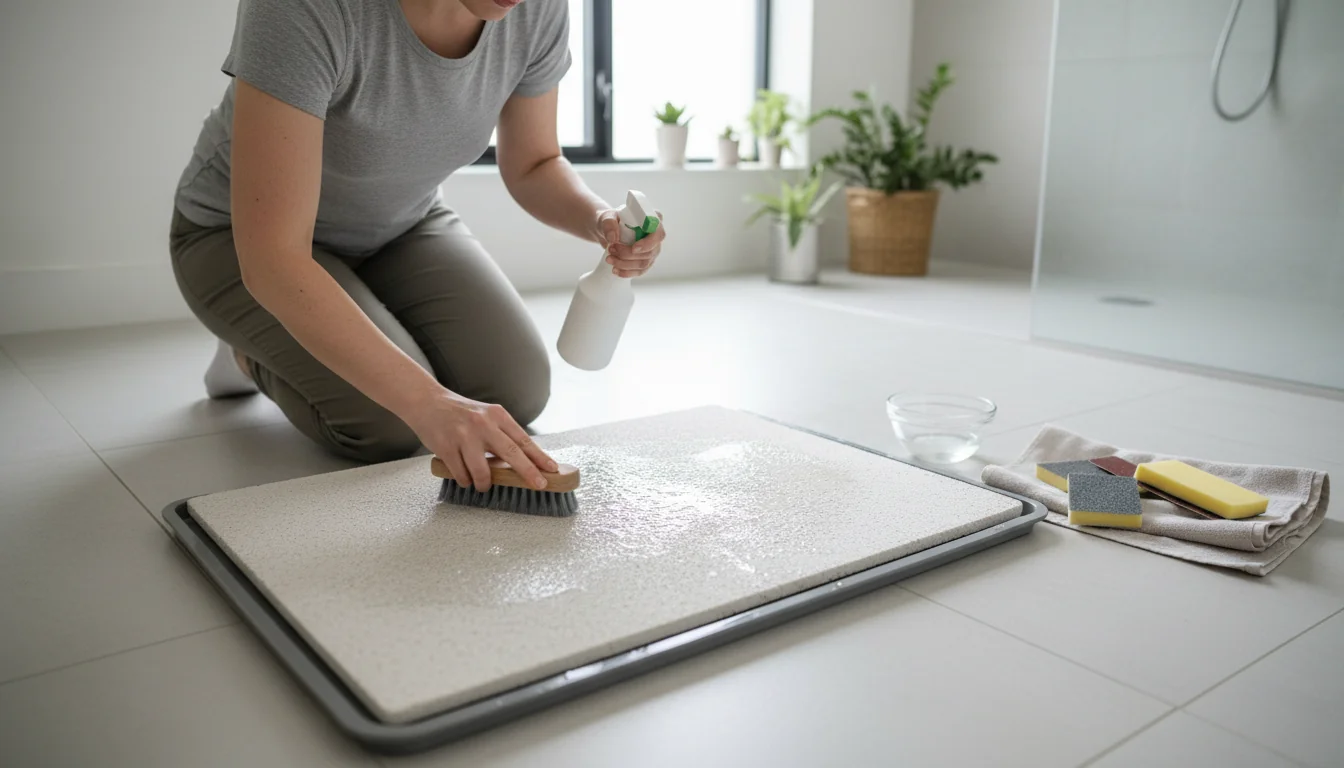
Gentle chemistry: safe ratios
Choose weak organic acids for descaling. They dissolve limescale but are forgiving on binders and pigments when diluted and rinsed well.
| Acid option | Mix & dwell (2026 baseline) |
|---|---|
| White vinegar (5%) | 1:1 with water; apply 3–5 min; do not let dry |
| Citric acid powder | 2–3% in warm water; brush 2–4 min; rinse thoroughly |
| Lactic acid cleaner | pH 3–4 ready‑to‑use; brief contact, then flush with water |
- Spot‑test on the edge before full application.
- Keep the surface uniformly wet to avoid tide marks.
- Rinse until no slickness or smell remains.
- Air‑dry fully upright for 12–24 hours.
If fizzing is intense, dilute more. Vigorous bubbling signals excess reaction during descaling.
If you need alternatives for non‑stone mats during off‑days, see our bathroom‑mat collection for complementary options while your stone model dries.
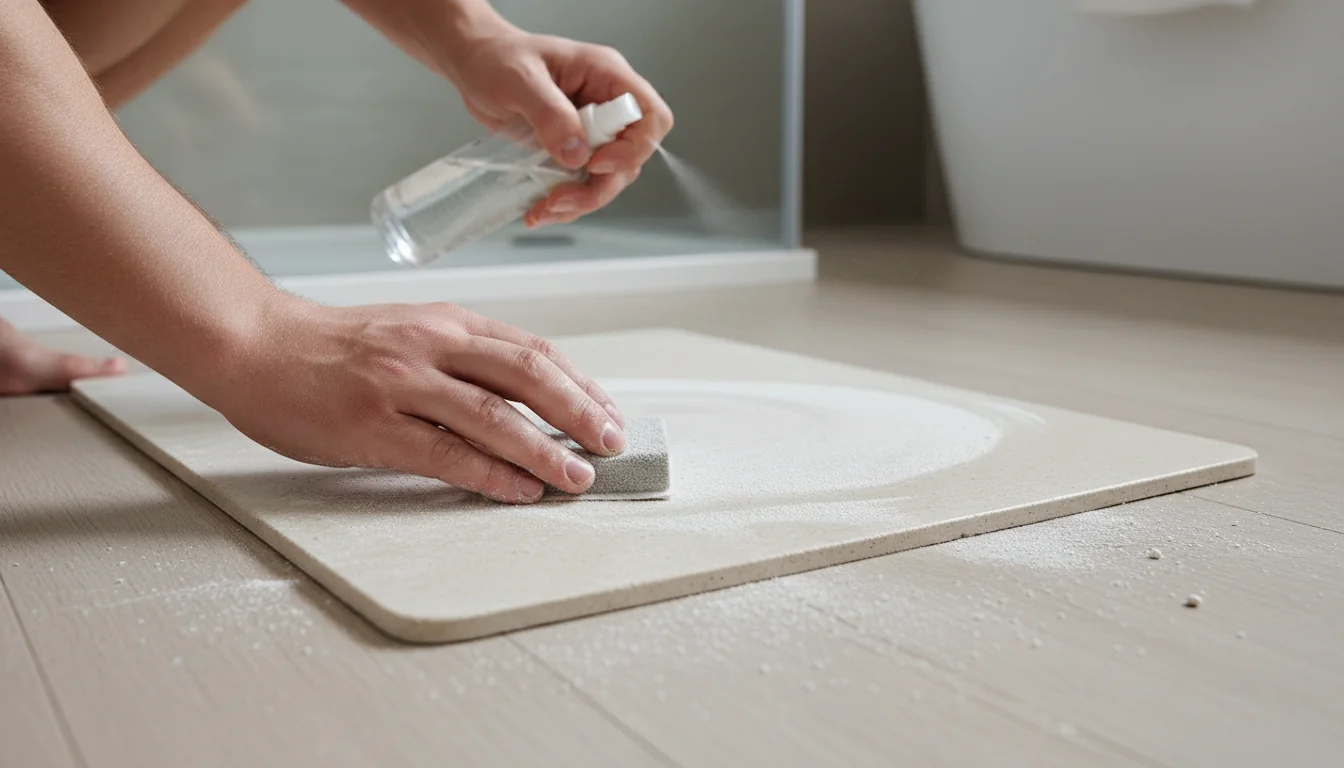
Controlled sanding: grits that work
Sanding activates fresh pores after descaling. Think “polish,” not “reshape.” The goal is to lift the top glazed film without gouging.
- Grits: start at 320–400; finish at 600 for smoother touch.
- Use light, even strokes in one direction; avoid swirling.
- Vacuum dust, then rinse to clear the reopened pores.
- Repeat only if water still puddles after a quick test.
Wear a mask. Fine silica dust is hazardous; wet‑sanding or vacuum‑assisted sanding reduces airborne particles.
For playful or patterned surfaces that show scuffs, check the original‑style bath mats and note how a 600‑grit finish keeps designs crisper after Cleaning Diatomite Bath Mat routines.
Hard‑water plan: fewer deposits
Descaling is easier when prevention helps. Address the water source, handling, and drying so mineral crystals form less aggressively on the surface.
- Shake off droplets from feet before stepping on the mat.
- Stand the mat upright after use to keep pores breathing.
- Wipe with a damp microfiber weekly; do a mild acid pass bi‑weekly.
- If hardness is extreme, consider a shower filter to cut scale load.
A simple 60‑second rinse and stand‑up routine after showers often halves the frequency of deep descaling.
Need to compare finishes or thicknesses optimized for scale management? Explore this diatomite‑only lineup to gauge how surface textures influence mineral build‑up over time.

Hands‑on guide: sanding and descaling
Before you begin, ensure good airflow. If you like highly absorbent textures, consider an ultra‑absorbent option for comparison as you restore yours.
- Dry the mat fully. Vacuum dust gently.
- Light sand with 320–400 grit in circles; wipe residue.
- Apply vinegar 1:3 (or 1–2% citric) for 3–7 min.
- Brush softly, then rinse thoroughly.
- Finish sand 600–800 grit. Dry upright 24 hours.
If fizzing is intense, reduce acid strength or shorten time; the goal is targeted scale removal, not deep soak.
Wear a dust mask when sanding. Diatomite contains silica; keep the surface slightly damp to minimize airborne particles.
Prefer ornate textures? Use this routine to preserve details on a baroque stone finish while keeping absorption high.
Why prioritize descaling over deeper sanding?
Minerals block pores from within; sanding only skims the surface. Descaling dissolves crystals, restoring fast spread and evaporation with minimal material loss.
How does acid cleaning compare to just washing?
Soap lifts dirt, not hard scale. A short acid rinse removes limescale that causes beading. For patterned looks, see this beige check pattern and match care to similar finishes.
What are the main benefits of regular mineral removal?
Faster absorption, cleaner look, and less odor risk. Routine descaling also reduces how often you need to sand, preserving thickness over time.
Is this approach suitable for all diatomite finishes?
Yes, if you keep acids mild and times short. For refined, traditional motifs, a light routine keeps edges crisp—think a timeless classic look.
How often should I repeat the descaling process?
Base it on water hardness and performance. If water stops spreading instantly, schedule a short rinse and a quick 600‑grit finish to reopen pores.
Can I neutralize residual acid after rinsing?
A final thorough water rinse is enough. If you want, a brief baking soda solution (½ tsp per cup) followed by a second rinse ensures neutrality.
Effective care in 2026 is simple: use sanding to refresh texture and controlled descaling to clear limescale, then dry upright to maintain that quick‑dry feel.
- Use mild acids (1:3 vinegar or 1–2% citric) for 3–7 minutes.
- Finish with 600–800 grit to refine and reopen pores.
- Match cadence to hardness to prevent heavy build‑up.
If you’re refreshing your setup, a neutral option like a clean, modern style pairs well with a low‑effort descaling routine.
Pro tips: lasting results
To keep descaling effective for weeks, pair light acid passes with brief finishing sands, and control drying. This routine preserves feel and speed.
- Alternate: one quick acid pass this week, a 400‑grit refresh next week.
- Limit total sanding time to 30–60 seconds per session.
- Always rinse after sanding; dust can mimic scale if left behind.
- Track absorption: aim for dry footprints within 20–40 seconds.
If marks persist after descaling, spot‑sand only the stained zones to avoid thinning the whole surface.
For ornate textures that benefit from gentle handling, see a baroque‑pattern stone mat and adopt the lowest effective grit during Sanding and Descaling.
0 comments