


Slippery tubs are no joke. If you want a grip that holds day after day, you need smart, actionable tips—not vague advice. Wondering how to install a suction cup bath mat without annoying lift-ups?
This 2026 field-tested guide delivers precise steps and practical tips: surface prep, placement strategy, suction techniques, drying routines, and fixes for tricky tubs. Follow along to make every shower safer in minutes.
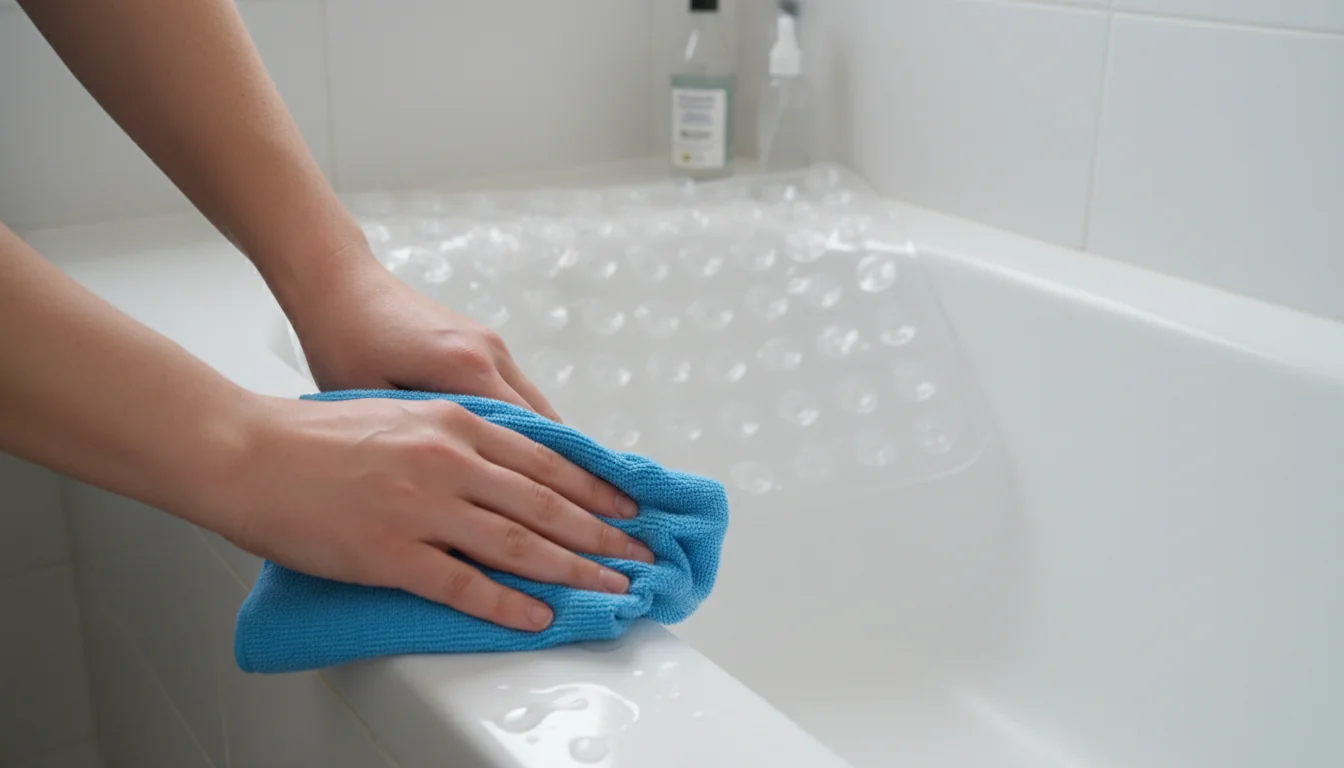
Prep first: maximize adhesion
Great suction starts long before you press the cups. The most overlooked tips are about cleaning. Soap film is invisible, oily residue is stubborn, and both sabotage grip. Remove them to let vacuum pressure do its job.
- Degrease thoroughly with dish soap and hot water; rinse until squeaky.
- Break mineral film using a 1:1 white vinegar rinse; let sit 5 minutes, then rinse again.
- Dry the tub floor fully with a lint-free towel to spot water beading or film.
- Wash the mat underside (cups included) with mild soap; rinse and pat dry.
- Warm the cups with lukewarm water in winter for more pliable suction.
If the surface doesn’t squeak under a fingertip, it isn’t clean enough. Repeat the degrease step before installing.
Use the table below to match prep to surface texture. One size doesn’t fit all, and targeted tips prevent frustration.
| Surface type | Prep approach + expected grip |
|---|---|
| Smooth acrylic or enamel | Dish soap + vinegar rinse; excellent suction if bone-dry before install. |
| Lightly textured tub floor | Deep clean; test a corner first. Grip is variable; use more cups and firmer press. |
| Heavily textured/pebbled | Suction mats may struggle. Consider outside-tub alternatives or adhesive discs. |
Bath oils, conditioners, and certain bath bombs leave films that defeat suction. Rinse after each use to protect grip.
Master these prep tips and you’ve solved 80% of “my mat won’t stick” issues before they start.

Smart placement: drain and slope
Placement is where good prep pays off. Your tub’s slope and drain area are the two biggest variables. The right layout and a few subtle tips minimize trapped air and edge lift.
- Center the mat’s length where your feet land; keep its edge 1–2 cm from walls to ease air escape.
- Avoid sealing over the drain; negative pressure near moving water can unseat cups.
- If the tub base slopes, align the mat parallel to the longest slope to help water shed.
- Dry-fit first: place, press lightly, and mark corners with tape; then do the full install.
- Use a “center-out” press pattern; never start from one narrow end on steep slopes.
Leaving a tiny “vent gap” at one corner while you press reduces trapped bubbles, then seal that corner last.
If you’re comparing shapes or coverage for your space, explore our bathtub mat selection as a reference point when testing these placement tips.
One last pointer: perform a gentle tug-test at all four corners. If any corner lifts easily, repeat the press sequence there.
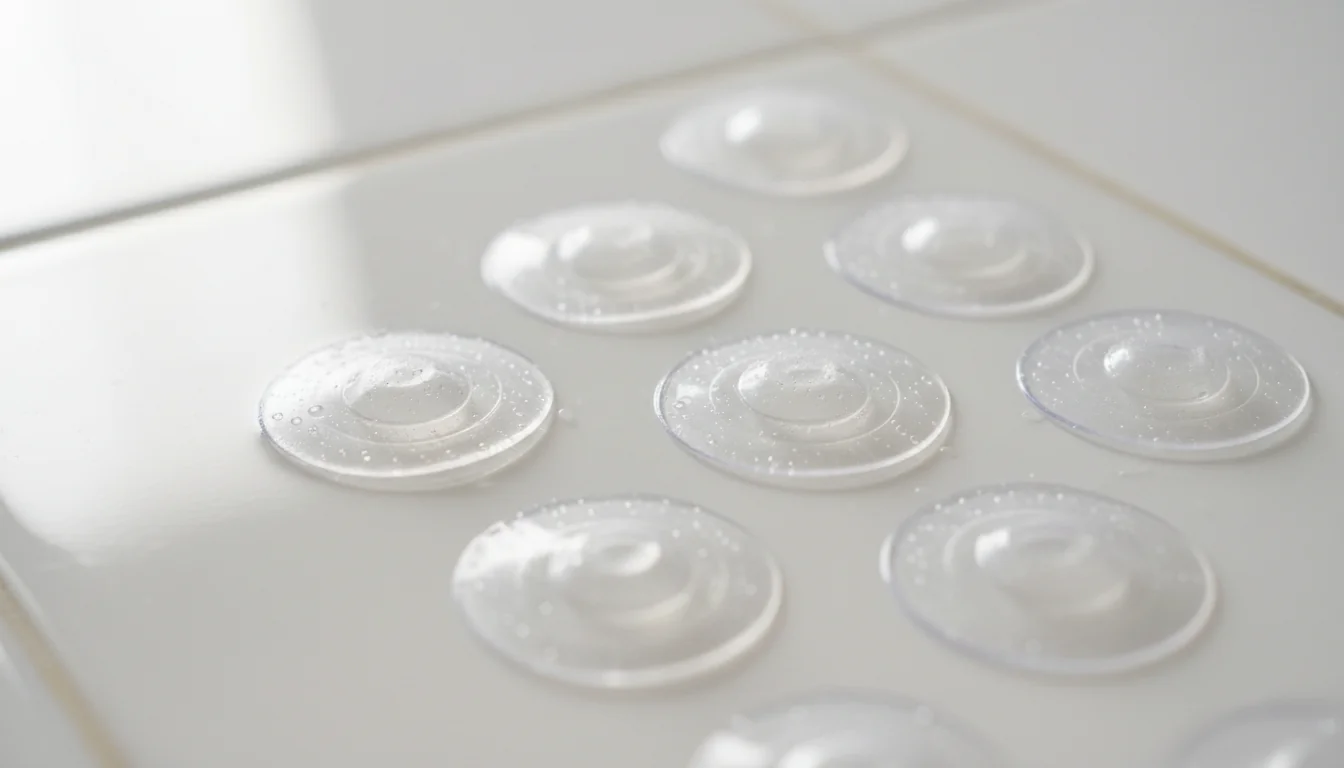
Air removal: lock the suction
Even a spotless surface fails if pockets of air remain. These quick tips help you expel air efficiently and get a firm, lasting seal with minimal effort.
- Water-film trick: Mist the tub lightly; a micro-film helps cups glide and seat, then bond as water displaces.
- Roll-install: starting at the center, roll a towel toward the edges while pressing down cups row by row.
- Foot assist: step barefoot from the middle outward to seat stubborn cups evenly.
- Edge finishing: run a thumb along the perimeter to chase out micro-bubbles before sealing corners.
- Re-seat after first rinse: quick re-press 30 seconds post-install helps stabilize the matrix of cups.
If your tub is slightly textured, increase pressure per cup and take more time per row. Patience wins suction.
For stability beyond installation, pair these methods with designs focused on traction; browse the anti-slip range when refining your approach to these suction tips.
Care habits: grip that lasts
Keeping suction reliable is mostly maintenance. A few weekly micro-routines stop scum, mold, and mineral scale from undermining cups. These tips fit busy homes without fuss.
- After showers, rinse the mat underside briefly to remove soap residue.
- Hang to dry every 2–3 uses; full air-dry interrupts mold growth cycles.
- Weekly wash: mild soap + soft brush; avoid harsh scrubbing on the cups.
- Monthly descaling: 1:1 vinegar soak 10 minutes, rinse thoroughly, re-seat.
- If using bath oils, add an extra midweek degrease to protect suction.
Outside the tub, wood or bamboo slats let feet dry fast and reduce puddles that re-soap your mat. Consider bamboo options for outside the tub as a low-maintenance partner.
These care tips keep the cups elastic and clean, which is critical for long-term hold in 2026’s busy family bathrooms.
Real-life fixes: kids, elders, textures
Households vary, and so should your installation approach. Tailor these tips to your reality—small hands, cautious steps, or challenging surfaces.
- For wiggly toddlers, extend coverage where they stand most; re-seat corners weekly.
- For elders, combine the mat with grab points; confirm no edges curl before every shower.
- Textured floors: prioritize more cups per square inch; test mid-tub first before full install.
- Cold bathrooms: warm the mat in lukewarm water for pliable cups that seal better.
- Essential oils reduce traction; rinse promptly after aromatherapy baths.
If cups repeatedly lift on heavy textures, don’t force it. Choose an outside-tub platform or targeted adhesive discs.
These targeted tips reduce daily friction—short, repeatable moves that prevent slips without adding chores.
Quick install checklist: 5 steps
For full-length coverage references while following this checklist, look at a full-coverage option to gauge how placement spans slopes and the drain zone.
- Degrease tub and mat; rinse until squeaky.
- Dry the tub; mist a micro water film.
- Place, then press cups from center to edges.
- Seal corners last; do a tug-test all around.
- Rinse once; re-press lightly after 30 seconds.
If a corner misbehaves, lift only that section, add a single spritz of water, and re-seat from the center toward that edge.
Prefer a design tuned for grip while you apply these tips? Consider an anti-slip pick for tubs as you perfect the installation sequence.
Why do these tips matter more than brand claims?
Because suction is physics, not marketing. Clean surfaces, air removal, and correct placement beat generic promises. These practical pointers tackle the real failure points you meet in daily use.
How do these techniques compare to alternative methods?
Rolling and water-film approaches create even pressure and displace air more reliably than random pressing. They reduce corner lift and extend time between re-seating—small tips with big payoff.
What if mold forms under the mat despite my care?
Improve drying frequency and add a weekly vinegar wash. If humidity is high, consider a mildew-resistant design and hang-dry after every shower to break the moisture cycle.
Can color choice help me spot residue faster?
Yes. Lighter shades reveal scum earlier; darker tones hide it better. If you prefer contrast, try a dark-toned mat and schedule routine rinses so buildup doesn’t sneak up on you.
Any tips for textured floors where cups won’t hold?
Test a small section, apply more pressure per cup, and warm the mat first. If it still lifts, pivot to outside-tub platforms or adhesive discs. Don’t fight physics—adapt the setup instead.
How often should I redo the full install sequence?
Re-seat after deep cleans or if corners lift. Most homes benefit from a quick re-press weekly. Pair this with the care tips to keep suction stable between maintenance cycles.
Installation success is a chain: clean, place, press, and care. Follow the steps and small tips above to turn an everyday mat into a dependable safety tool—fast, repeatable, and built for 2026 routines.
- Key idea: perfect prep beats re-pressing later.
- Quick win: use a center-out press to purge air.
- Prefer neutral tones? See a neutral grey option while you lock in these techniques.
With the right steps and steady tips, your suction cup bath mat will stay put and keep you sure-footed, day after day.
0 comments