


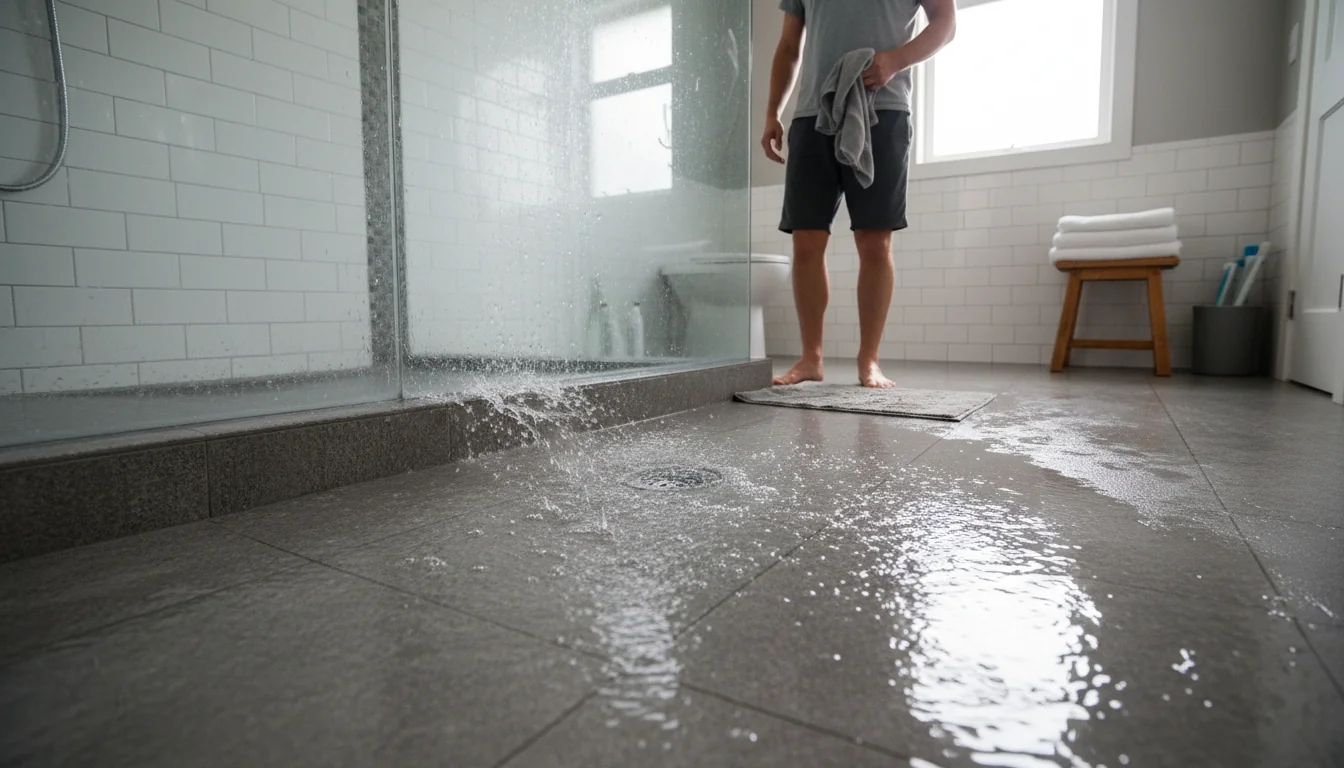
Water on glossy tile travels fast, pools in grout lines, and sneaks past open entries. If you use a shower splash guard for bathroom floor tiles, how do you make it actually work with tile?
This 2026 guide focuses on tiles: which barriers suit ceramic, porcelain, and stone floors, how to bond profiles and panels to tilework, and the small details that keep edges dry.
Want a doorless look without soaked joints? You’ll learn precise, tile‑specific methods you can apply today.
Water behavior: tiled floors explained
Before choosing a guard, understand how water moves on tile. Glazed ceramic sheds droplets; honed stone holds a film. Grout joints wick moisture. And a slight floor slope can steer spray beyond the shower zone.
- Glossy surfaces push water outward; matte finishes slow spread.
- Wide grout joints act as capillary tracks if not sealed well.
- Doorless entries amplify splash from handheld heads and body jets.
- Linear drains placed off‑axis can pull water across floor tiles.
Angle the showerhead inboard and keep a shower squeegee handy. One quick pass across grout lines after use limits wicking under the guard.
Once you predict flow, you can place a barrier exactly where tile and water meet.
Right barriers: matched to tiling
Different tile assemblies call for different splash guards. The goal is to contain spray without fighting the floor layout or grout pattern.
- Partial glass panel: fixed pane on the wet side of a walk‑in keeps lines clean and shows off your tilework.
- Silicone water dam: a low, flexible threshold strip on the tile surface for curbless and wheelchair access.
- Tile‑set support profile: metal channel set in thin‑set at the entry; accepts a soft lip insert as a discrete splashguard.
- Corner guard: small acrylic or glass piece sealing the tub‑to‑wall tile joint.
| Tile scenario | Guard option that fits |
|---|---|
| Large‑format porcelain, doorless entry | Partial glass panel + surface‑bonded lip |
| Mosaic shower floor into bathroom tile | Embedded metal profile + soft PVC insert |
| Tub surround meeting ceramic wall tile | Corner splash guard sealed to tile |
On dense porcelain, some adhesives struggle. Use neutral‑cure silicone or a tile‑rated polymer adhesive and clean the glaze thoroughly before bonding.
Choose the least intrusive guard that complements grout lines rather than interrupting them.
Installation: bonding to tile surfaces
Tile demands precision. Mark the wet/dry break on the floor tiles, mask edges, then dry‑fit the guard. Avoid spanning any movement joint with a rigid profile.
- Degrease glaze with alcohol; vacuum grout dust before adhesive work.
- For embedded profiles, bed them in thin‑set so the top sits flush with tile.
- Where thicker tiles occur, fill under the profile with thin‑set for full support.
- Leave a 1/16"–1/8" gap between profile and tile; seal with silicone.
| Component | Typical spec |
|---|---|
| Support profile height | About 5/16" to align with tile finishes |
| Visible surface (set‑in profile) | Around 3/4" wide; recessed flush with tile |
| Visible surface (surface‑bonded) | About 2" wide; adhered to tile with silicone |
Soft lip inserts vary: a flat, 2 mm semi‑rigid strip for subtle transitions or a taller, ~37 mm upright lip for more containment.
Observe curing: most silicones require a curing time: 24–48 hours before wet use; cooler rooms need longer.

Perimeters: edges and baseboards
Where tile meets walls and trim, splashes collect. Protecting these perimeters prevents swollen baseboards and stained paint.
- Use a tile baseboard from the same floor tiles to resist water.
- Seal tub‑to‑tile and tile‑to‑guard with a continuous silicone bead.
- If a rigid guard leaves a wall gap, insert backer rod, then caulk.
- Slope the last tile row slightly inward to reduce edge pooling.
If kids use the bath, run the tile baseboard at least 4" high and finish the top edge with a matching trim profile.
These small tile‑centric details stop the slow creep of moisture into finishes.
Design harmony: guard and surfaces
A guard should frame, not hide, your tile. Clear panes preserve the pattern; textured glass hides spots while keeping the grid visible.
- For bold mosaics, a frameless partial pane keeps attention on grout rhythm.
- If you need more protection, choose a wider glass piece that still aligns with grout lines.
- On modern farmhouse palettes, matte metal profiles pair well with neutral tiles.
- Use color‑matched silicone to blend with grout color on ceramic tile.
Berry‑red hexagon mosaics or glossy accents can glow when light passes through a low‑iron glass panel.
For collapsible thresholds, a 60–67 inch silicone dam can span the entry without breaking the tiled look.

Care & safety: tiled showers
Tiled floors shine with small habits. Maintenance also keeps guards performing at the entry line.
- Squeegee glass and floor tiles after use; wipe the lip insert weekly.
- Choose mats with an anti‑slip backing and ventilate them to dry.
- For natural stone, avoid acidic cleaners; stick to a neutral pH cleaner.
- Select lip heights rated wheelchair‑friendly if accessibility is key.
Don’t use strong alkalis on anodized metal profiles or harsh acids on marble tiles. Both finishes can dull quickly.
With basic care, the timeless beauty of ceramic and stone enhances any bathroom—and stays dry underfoot.
How to fit a splash barrier on tile
- Map the wet zone on the tiles. Confirm the slope: 1/4 in per foot toward your drain.
- Dry‑fit the guard. Mask grout edges where sealant will sit.
- Clean the tile glaze. Apply neutral‑cure silicone in a continuous bead.
- Set the profile or dam. Tool a small fillet along the tile/guard joint.
- Let it cure fully (check product; often 24–48 hours) before wet use.
Outside the guard, place an oversized non‑slip mat to catch residual spray on glossy porcelain.
Tie the entry area to your palette with this deep teal bath rug against warm stone tiles.
For family bathrooms, a low dam plus a playful berry‑themed mat makes the tiled floor safer and easier to spot‑dry.
Why choose a splash guard on tile?
On tile floors, a small barrier at the entry contains spray while keeping the tiled surface continuous. It protects grout lines, baseboards, and adjacent finishes without needing a full enclosure.
How does it compare to a full door?
A door seals more steam but hides tile patterns and needs more hardware. A partial glass or lip insert keeps the open feel, costs less to maintain, and showcases the floor grid and wall layout.
What tile types work best with guards?
Porcelain and ceramic pair well with both embedded profiles and surface dams. Natural stone needs pH‑neutral cleaning and color‑matched silicone. Mosaics benefit from a flush, low‑profile lip.
Can I keep it soft on the feet?
Yes. Outside the splash line, use a soft pink bath rug to warm ceramic or stone underfoot while protecting grout from drips.
How do I fill a wall‑to‑guard gap on tile?
If a wall isn’t square, set the guard plumb, insert foam backer rod into the triangular gap, then seal with silicone. Don’t try to bridge big voids with caulk alone.
What about curbless, doorless tiles?
Use a slim entry profile with a taller lip, or add a collapsible silicone dam. Keep the floor slope consistent to feed a linear drain and align the profile with grout joints.
Any cleaning basics for glass on tile?
Squeegee after showers, and use mild soap weekly. Textured or rain glass hides spots. Avoid abrasives on tempered panes and harsh acids on stone tiles near the joint.
A well‑chosen splash guard works with your tiled floor—never against it—by respecting slopes, grout lines, and the way water moves.
- Match barrier type to tile layout and entry width.
- Prepare tile properly; seal edges, joints, and perimeters.
- Maintain with neutral cleaners and quick squeegee passes.
Finish the dry zone with texture and grip—try a bold tiger motif to frame your tiles and signal the edge of the splash line.
0 comments